Mike Chaney's Tech Corner
March 29, 2024, 09:37:18 AM *
Welcome, Guest. Please login or register.
Did you miss your activation email?

Login with username, password and session length
News: Qimage registration expired? New lifetime licenses are only $59.99!
 
   Home   Help Search Login Register  

Professional Photo Printing Software for Windows
Print with
Qimage and see what you've been missing!
Pages: [1]
  Print  
Author Topic: TTS initial impressions and final output sharpening???  (Read 8064 times)
Box Brownie
Newbie
*
Posts: 48


View Profile
« on: August 22, 2010, 10:20:39 PM »

Hi All

Apart from QU editor & indeed cache thumbs building taking a month of sundays  Cry I have tried the TTS filtering on a few images that I had in mind to start with and I list my initial impressions:-

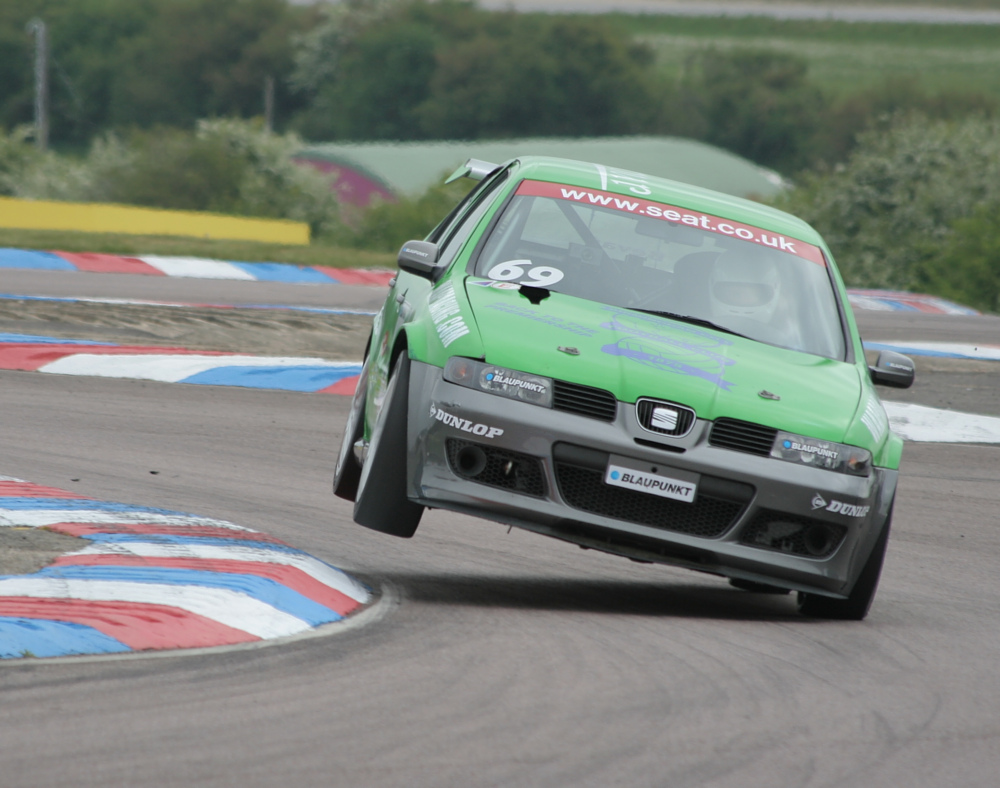
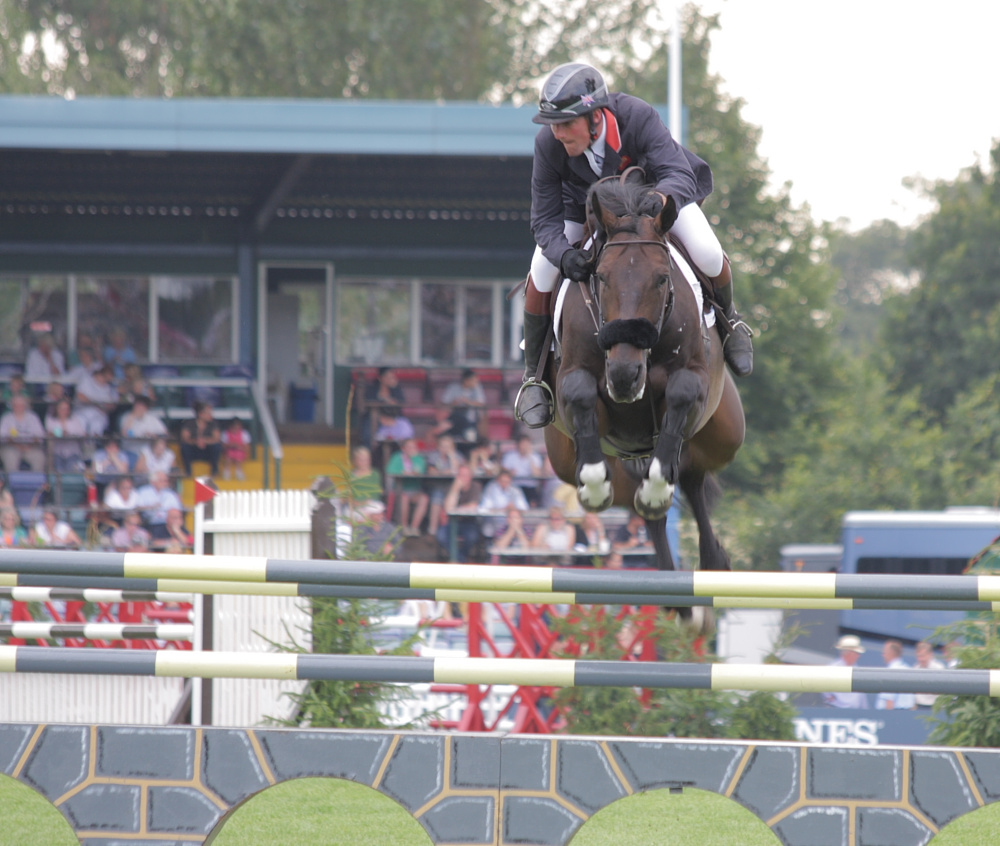
1) I have tried both selecting say the OOF background and chosen a mid tone and used the "except" choice & choosing a midtone on the main subject and using "select" that tone and using 2/200 all I can say so far is compared to the images posted by the others guys the effects are extremely subtle, I am getting pleasing sharpening but just not the visual crispness I was aniticipating based on the examples posted.  NB At this stage I surmise I maybe need to choose the Tone more carefully to see such crisper sharpening??? Therefore in the case of the two images I will shortly link to a) The car I chose a mid grey on the bumper and b) the showjumper I chose a midtone in the fold of his righthand sleeve.


1a) Now this may be because I am trialing and therefore not using the camera profiles???

2) I have sussed out the cropping tool ~ took a while to appreciated that the way QU editor works is like a menu sidecar file i.e. you do not get the crop as part of the editing!

3) Ref the Preview window ~ the redraw when right click shifting is way slow and as noted/read hereabouts it is 'focused' on the Tone Selection point.  I discovered by accident (because it frankly was not obvious to me) that the slider in the preview window allows one to split the window to show before & after this was where I realised & observed how subtle the effect really is.

3a) Talking of the Preview Window ~ would it be possible to have it work like a Loupe i.e. as you carry it around the main image view it shows the part 'under it'Huh?  This would be especially beneficial IMO because your tone selection point could way off of the main subject but it is afterall the main subject that requires the sharpening, is it not so such a Loupe action means you could locate it quickly (?) compared to right click dragging.  Yes the refresh may still take a few moments but at least you know for sure you over the right area but with the current method I find I am correcting position a lot.

4) Saving as ~ now at the moment I have been saving for web sized images.  Initially I thought I had to resize in the editor interface but that confused things because if you have created a crop "window" the resize at this point resizes the whole image area not the cropped zone ~ is that is bug???

4a) When I used Save As the dialogue comes up allowing me to resize (lower left corner of the dialogue box) and set the X dim and it auto makes the Y dim (very nice and 'as expected'.  Just select JPEG quality of 95 for an approx 200-300kb file with max 1000 px longest side ~ spot on  Smiley

5) So as this is sidecar file menu driven I return to an earlier question ~ when in the case above of a crop, and final save as resize if the TTS sharpening applied???

As for how slow I am finding QU running for the record I use W2K on a P4 system with 2GB RAM and the files are my NAS accessed on a 100 network.

Edit - just thought?  The output stage whether print or print to file or indeed save as (equivalent to print to file???) has the Hybrid Interpolation with Default Sharpening of 5, so in the scheme of things just how much sharpening is seen accomplished by TTS as above and the last step that applies the 'output' sharpening???

Smiley

PS I sometimes get an "Abstract Error" that will take ages to clear and even might require a close & reopen of QU.  Also I get the broken refresh reported elsewhere.
« Last Edit: August 22, 2010, 11:06:06 PM by Box Brownie » Logged
Terry-M
The Honourable Metric Mann
Forum Superhero
*****
Posts: 3247


View Profile WWW
« Reply #1 on: August 22, 2010, 11:14:50 PM »

Hi Box Brownie,
I D/L your images from the from web page and quickly did this with them:
xxxxx
Car: increased contrast a little and TTS Saturated Colours 2/300/80%
xxxxx
Horse & rider. tweaked levels at dark end and TTS Tone + on green trees in background 1/-200/100%
Hope that helps.
Terry

23-08-10 Edit: images removed from PBase
« Last Edit: August 24, 2010, 03:55:20 PM by Terry-M » Logged
Box Brownie
Newbie
*
Posts: 48


View Profile
« Reply #2 on: August 22, 2010, 11:23:20 PM »

Hi Box Brownie,
I D/L your images from the frorm web page and qickly did this with them:
http://www.pbase.com/tjm04/image/127717401
Car: increased contrast a little and TTS Saturated Colours 2/300/80%
http://www.pbase.com/tjm04/image/127717402
Horse & rider. tweaked levels at dark end and TTS Tone + on green trees in background 1/-200/100%
Hope that helps.
Terry


Hi Terry

Thanks for looking and the insight, I will have to open the files again and but of course you have reprocessed based on a TTS pass already done by me so how would that fit???  Are you suggesting/saying that from the originals your method choices should yield such possibly improved results???  Oh, what was your target area for the car image???

TIA

Smiley
Logged
Terry-M
The Honourable Metric Mann
Forum Superhero
*****
Posts: 3247


View Profile WWW
« Reply #3 on: August 23, 2010, 07:05:32 AM »

Hi BB,
Quote
but of course you have reprocessed based on a TTS pass already done by me so how would that fit???
Not ideal for best results, small image too.
Quote
Are you suggesting/saying that from the originals your method choices should yield such possibly improved results???
I think so but there are various options you could try.
On the Horse image, just using Except Tone with the green trees seems to work well 1/200
Quote
Oh, what was your target area for the car image???
I used Saturated, you don't select a tone for that.
I have also tried Except tone and selected the green on the edge of the background roof/trees, that works quite well.
Also RGB, selected the car green on the LH wing as viewed: 2/400/80%, that seems to be ok to me too, taking into account what happens in the background: -
xxxxx
In all these cases, it will be a little different on the full size image, just try different options, that's the best way to learn. Make image copies of the different TTS versions, save the filters for re-call if required and then compare.
Terry

23-08-10 Edit : Image removed from PBase

« Last Edit: August 24, 2010, 03:55:02 PM by Terry-M » Logged
Terry-M
The Honourable Metric Mann
Forum Superhero
*****
Posts: 3247


View Profile WWW
« Reply #4 on: August 23, 2010, 07:39:02 AM »

BB,
PS. I should also have said: -
my settings may be a little too strong but hopefully help help you with the learning process.
I increased the contrast a touch too (curve on car, levels on horse) because that helps too imho.
They are great action shots  Cool
I will remove your images from my PBase gallery after a few days.
Terry
Logged
Pages: [1]
  Print  
 
Jump to:  

Powered by MySQL Powered by PHP Powered by SMF 1.1.21 | SMF © 2015, Simple Machines Valid XHTML 1.0! Valid CSS!
Security updates 2022 by ddisoftware, Inc.